Catalogue Preparation Check List & Design Guide
1. Preparation Check List
Gather all the product
information.
2. Sales & Marketing Check List
Identify Customers, marketing & content objectives.
3. Print & Design Process
Understanding the printing fundamentals and design process.
Preparation Check list – Tips & Hints

Gather all the product information:
- Product Core Elements – Mention e.g., Metals like copper, steel, alloy, Non-metals etc
- Accreditation, Memberships & Certificates Does the product have certifications example’s: 9001, etc.
- Product Dimensions – detail the length, height, breadth, weight, the volume of the product.
- Features & Benefits – Outline the top features & benefits of the product.
- Outline Guarantee/Warranty – Specify any guarantee or warranty clauses applicable to the product.
- Ideal conditions of usage – Indicate the best conditions and criteria for using the product.
- Temperature requirements, how to store, cooling, ambient and other surroundings options.
- Terms & Conditions – Call out the most typical terms and conditions of using the product.
- Size – Detail or name the size of the product.
- Safety measures – Does your product requires safety measures before using.
- Returns – Under what conditions will the company accept returns of the product?
- Year of the launch – Which year was the product launched.
- Version – Name the version/release/series of the product. e.g., addition 5 series 4 2023.
Note: You can choose the elements that best suit your product needs.
Sales & Marketing Check List – Tips & Hints

Identify customers’ needs and marketing & Content objectives:
Step 1. Prior to creating your catalogue.
- Choose your product. What is the product name and branding requirements?
- Identify product features & benefits.
- Customers – Identify your customer needs and target markets objectives.
- Check Pricing objectives.
- Place – Locations where products can be purchase – physical and online.
- Promotions – Is the catalogue part of a promotion.
- Customer Service – how does a client communication with you, if needed.
- Process – Determine the process of sale.
- Creative Content – information, educational, inspirational, persuasive etc.
- Communication – ensure you are sending a coherent and consistent message about your business, product, and brand.
- Marketing Objectives – Identify all your marketing requirement, and targeting the right mailing lists etc
Step 2. Plan your catalogue structure, content and Layout design.
- Descriptions – Provide a briefly describe of the product or service, so the users understand the product. Keep it clear, brief, but convincing.
- Customer testimonials -Include testimonials from customers who are happy with the product.
- Pictures, Graphic and diagrams are essential – Pictures speak more than words! They are a critical component to a catalogue.
- Call to Action – What do you expect the target audience to do after seeing your brochure?
- Discounts or special offers – Are there any early-bird/seasonal discounts for your product?
- Price – Mentioning the price of the product and the currency/geography applicable.
Note: You can choose the elements that best suit your product needs.
Understanding the Printing Fundamentals & Design Process.

PREPRESS
Prepress is the first step in producing your product catalogue., and it’s where all the planning and preparation occur. Most of the prepress steps are done via computer.
Once you have gathered all your product information and identify all your marketing and content needs. You can start the Printing & Design process which cover the following process: This step includes composition, typesetting, graphic arts photography, formatting files according to industry standards, and image assembly. The prepress operations prepare the concept for a printed image to be converted into an image carrier, such as a plate, cylinder, or screen.
The steps also involve converting digital files into a form that the press can understand and using software to prepare the files for printing. During the prepress step, proofing for errors and improving layout design are done to ensure everything looks perfect before printing. This will provide an accurate representation of what the final product will look like once printed.
PRESS
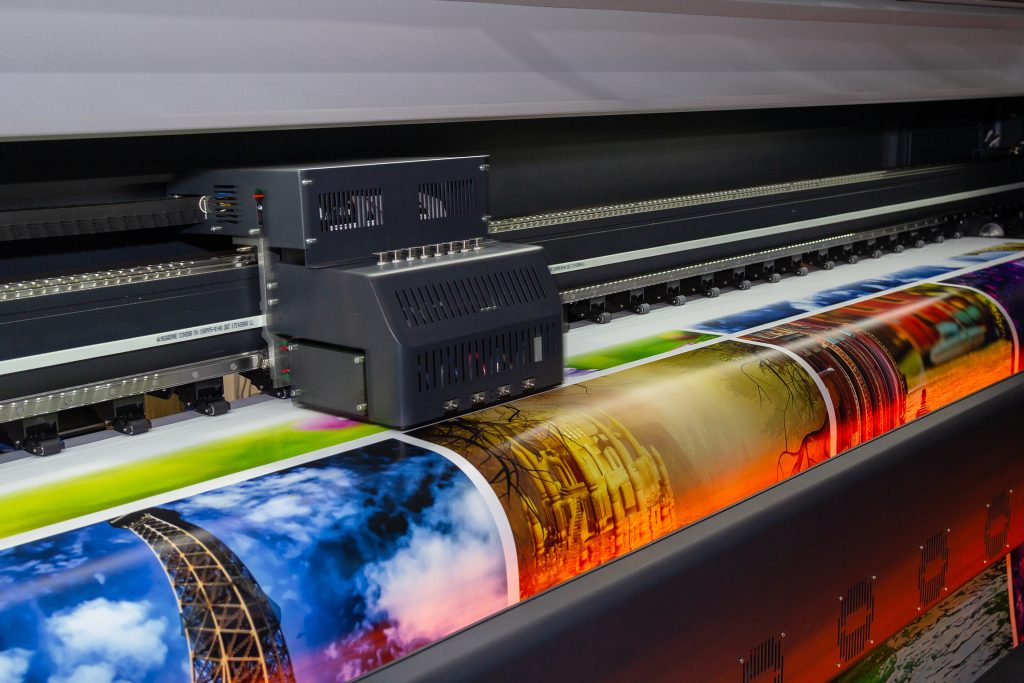
Once the prepress steps have been completed, it’s time to move on to the press stage, where the actual printing process occurs. This phase involves setting up the presses and printing the image onto a substrate (such as paper or plastic), using either an offset printing press or a digital press.
For each job, the specific press setup is dependent on the type of substrate being used. For example, you might need to use a different printing plate or ink colours than usual to achieve the desired effect on certain materials.
POST PRESS
Once the printing is complete, it’s time to move on to the post press phase. This stage involves operations such as trimming, folding, scoring, and binding. It includes finishing processes like embossing, die-cutting, varnishing, laminating, and more. These processes achieve a certain look or feel, such as a glossy finish or special shape.
Lastly, post press operations involve packaging the printed materials for shipping or storing them until they’re ready for distribution. This stage is about making sure your prints arrive in pristine condition, and that they look exactly the way you intended them to.


